Изменение ландшафта
Материал из CryWiki Russia
Содержание |
Извенение ландшафта
Overview
В следуюшем пошаговом руководстве будет показано как изменять ландшафт вSandbox.Хорошо созданый ландшафт являеться важной основой для хорошего уровня.Цель этова руководства познакомить вам с базовыми приемами использования инструментов редактирования ландшафта.
Панель управления Modify Terrain
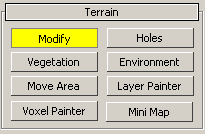
В RollupBar, выберите Modify из меню показаного ниже.
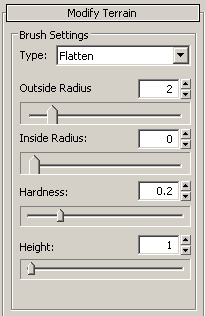
Откройте этот Brush Settings диалог.
Сушествует 3 типа кисти которые вы будите использовать при редактирование ландшафта: Flatten, Smooth и Rise/Lower.
Важные настройки кисти
ВBrush Settings есть несколько ползуков изменений вашей кисти.
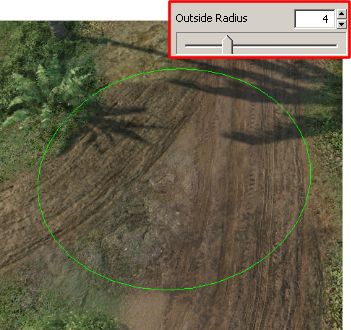
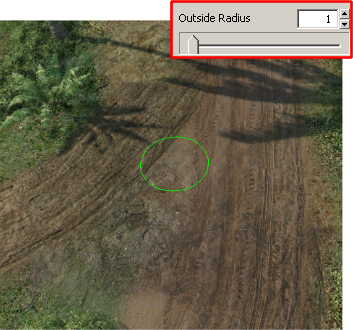
Ползунок Outer Radiusизменяет размер вашей кисти.
Ползунок Hardness изменят силу важей кисти.Низкое знание даст мягкий эффект, а большее значение даст более жесткий эффект. ПолзунокHeight изменяет высоту выбраной кисти.
- Flatten – Height изменяйте высоту, на которой ландшафт будит сглажен.Удерживая *CTRL* и нажал ЛКМ вы виберите ту высоту, на высоту ландшафта которого вы нажали.
Rise/Lower – применяйты чтобы увиличить или уменьшить высоты . Удерживая *CTRL* и нажав ЛКМ вы понизите высоту ландшафта, если были положительный значения высоты.
Click the Modify button again or press ESC to stop editing terrain.
Кисть Flatten
Кисть Flatten сделает любой кусок ландашфта полность сглаженным, на предопределенный высоте.
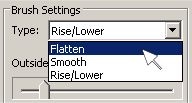
To activate the Flatten brush you have to select the arrow next to the Brush Settings type selection tool.
Next, select the appropriate option, in this case Flatten.
And click the mouse button.
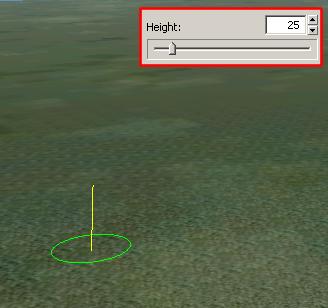
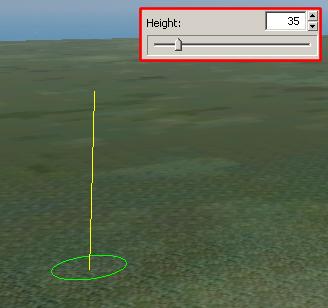
To flatten the terrain, first you need to select a height in the height control slider, within the Modify Terrain panel.
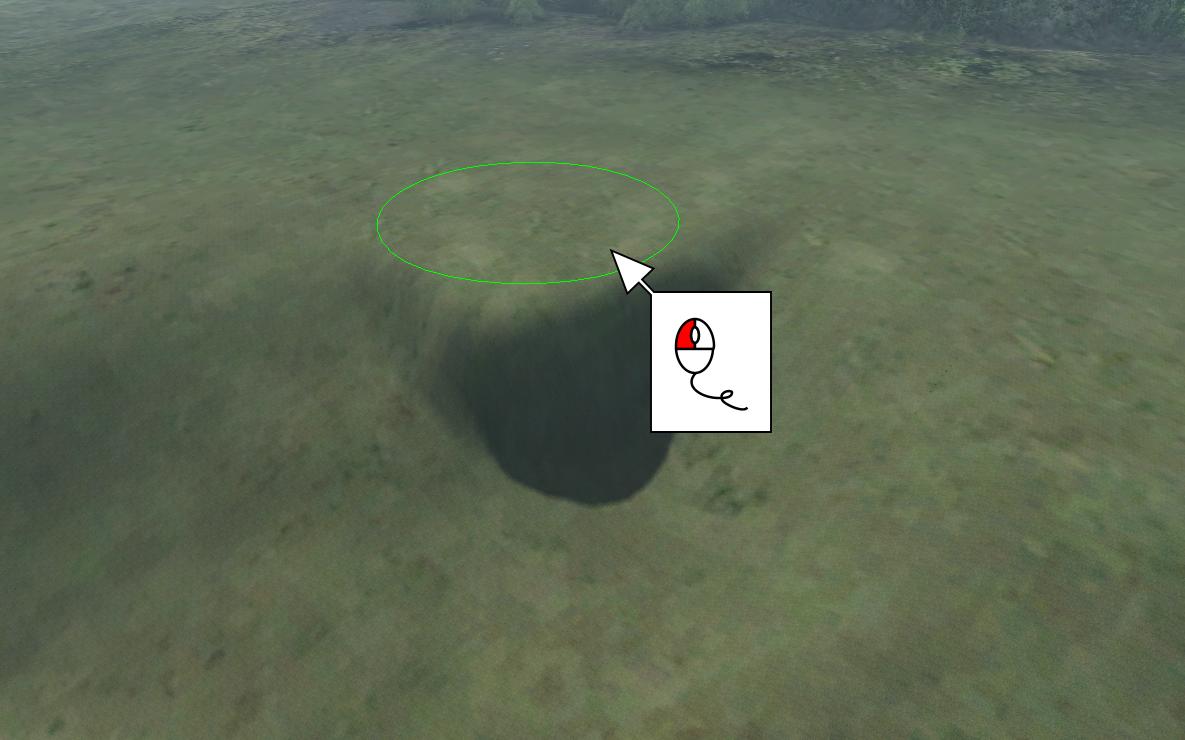
Now, click and hold the mouse mutton in the perspective viewport, move the mouse around. The terrain will be flattened wherever the brush is.
The Smooth brush
The Smooth brush makes sharp terrain smoother and softer. Activate the Smooth brush in the same menu as the Flatten brush.
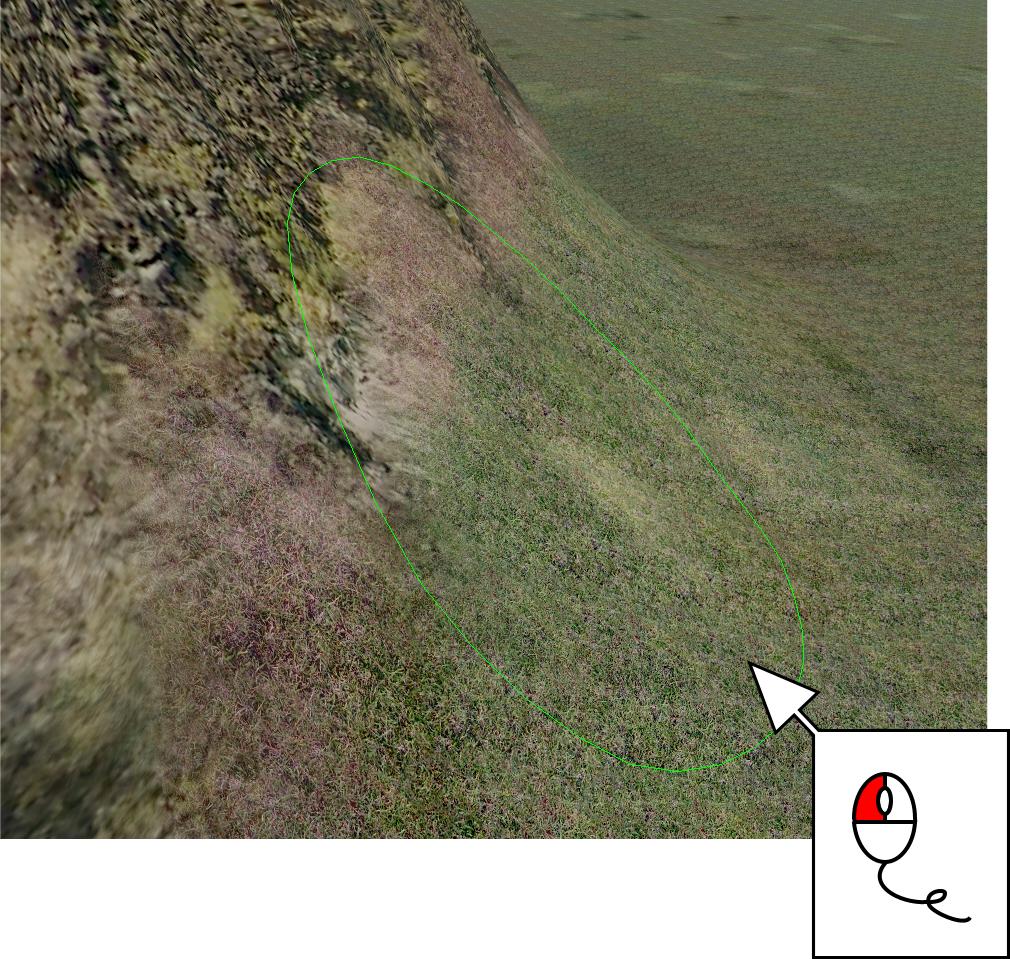
In the perspective viewport, click and hold the mouse button on the terrain and then move the mouse around.
Rise/Lower brush
The Rise/Lower brush will allow you to increase or reduce the height of the terrain, to make natural terrain structures, like hills and mountains. Activate the Smooth brush in the same menu as the Flatten brush.
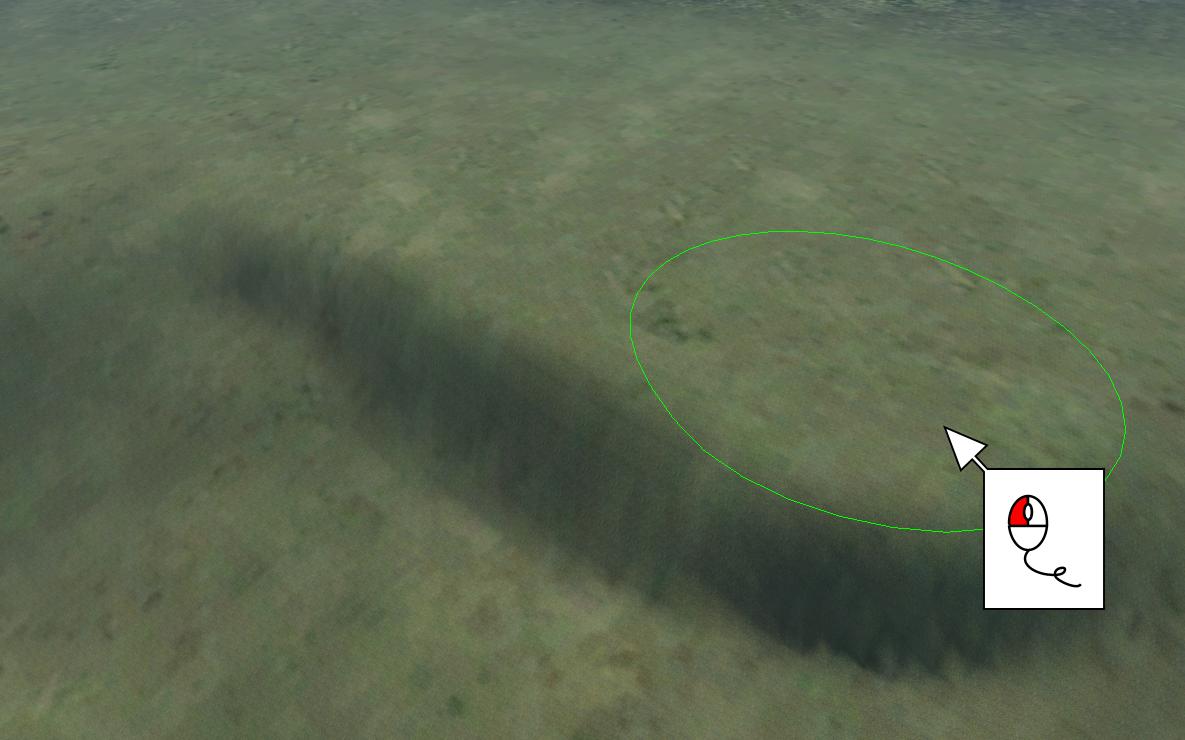
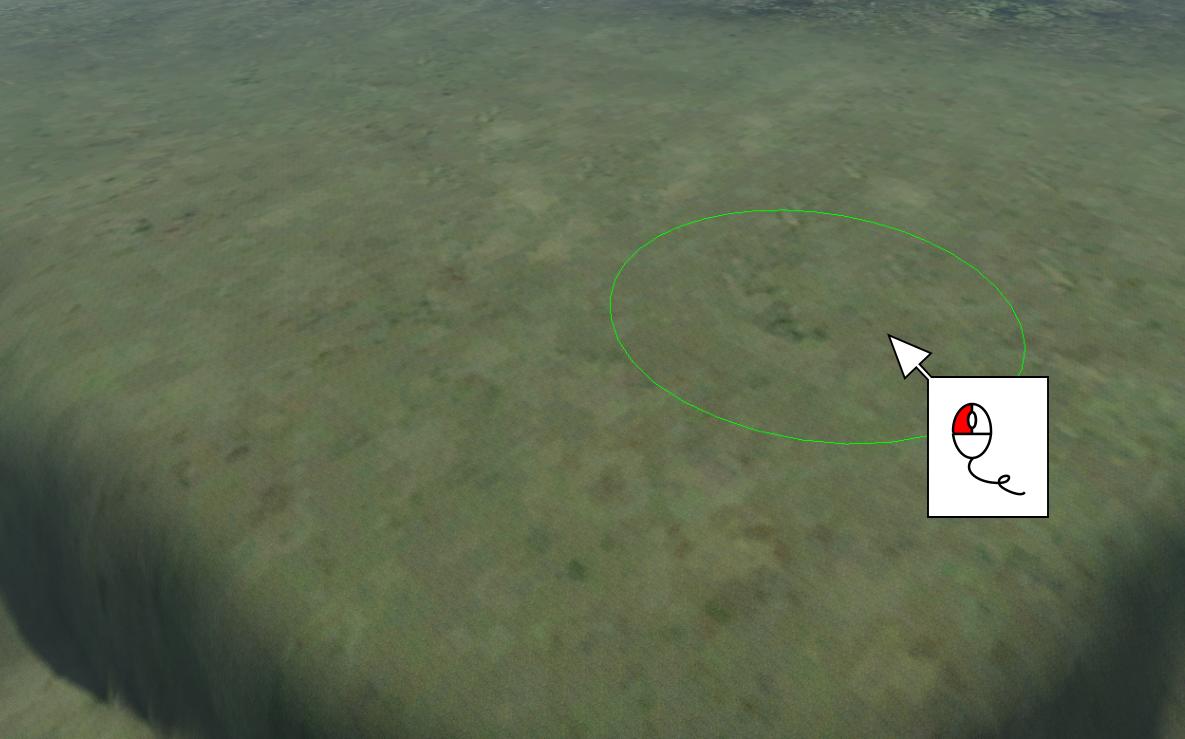
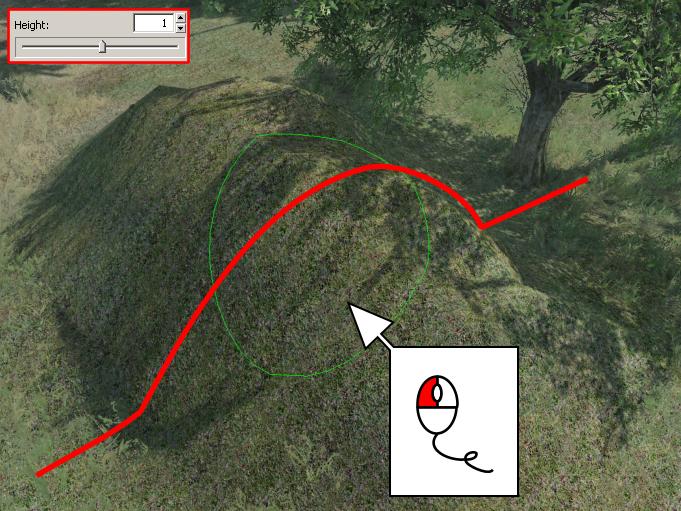
Click and hold the left mouse button in the perspective viewport, and move the mouse around. If you have set a positive height in the slider, the terrain will move up.
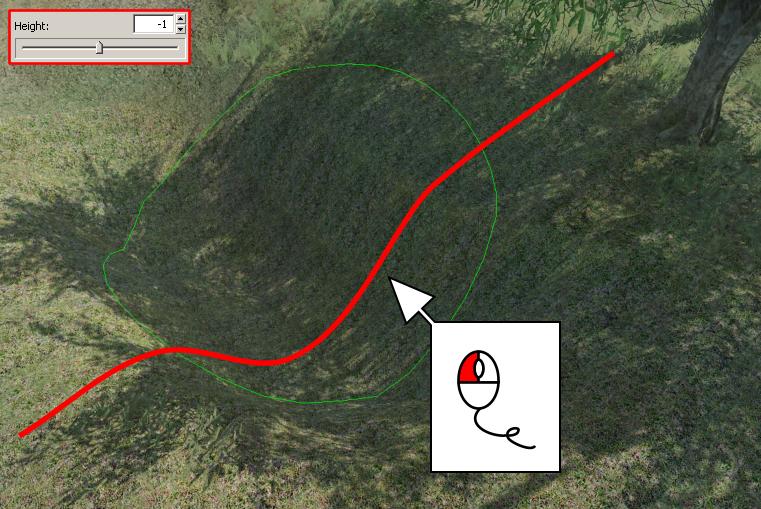
A negative number set in the height slider will move the terrain down.
Result
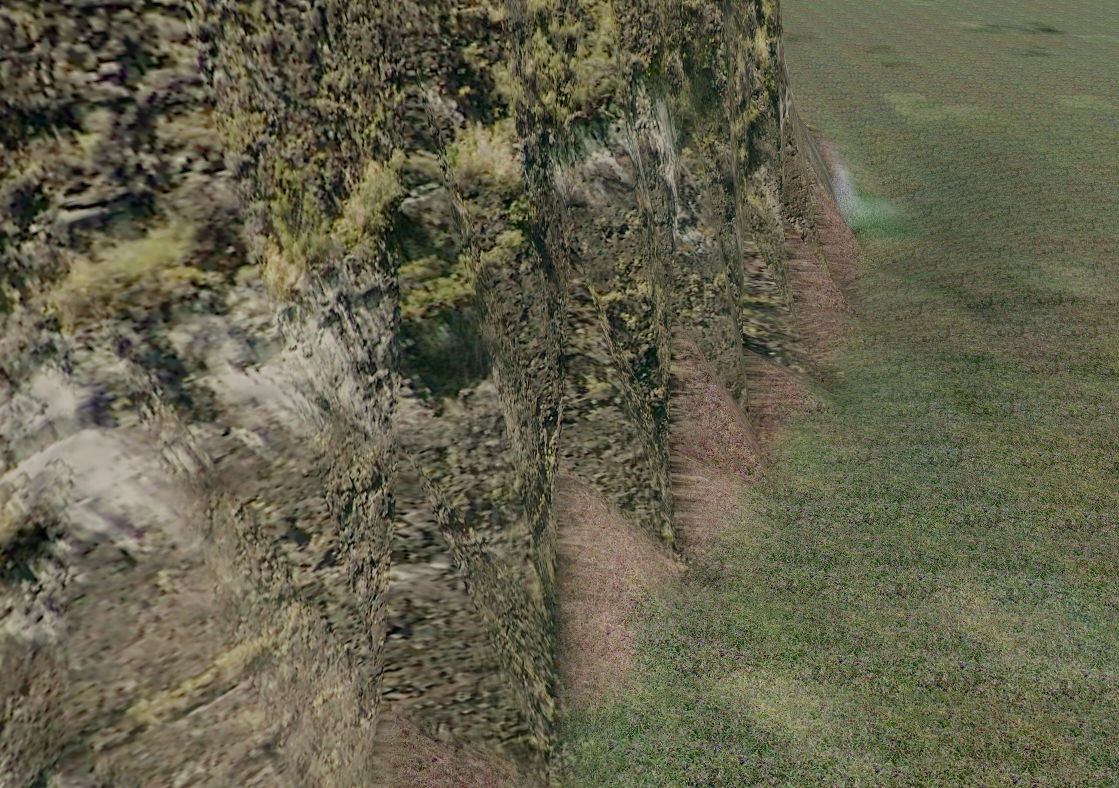
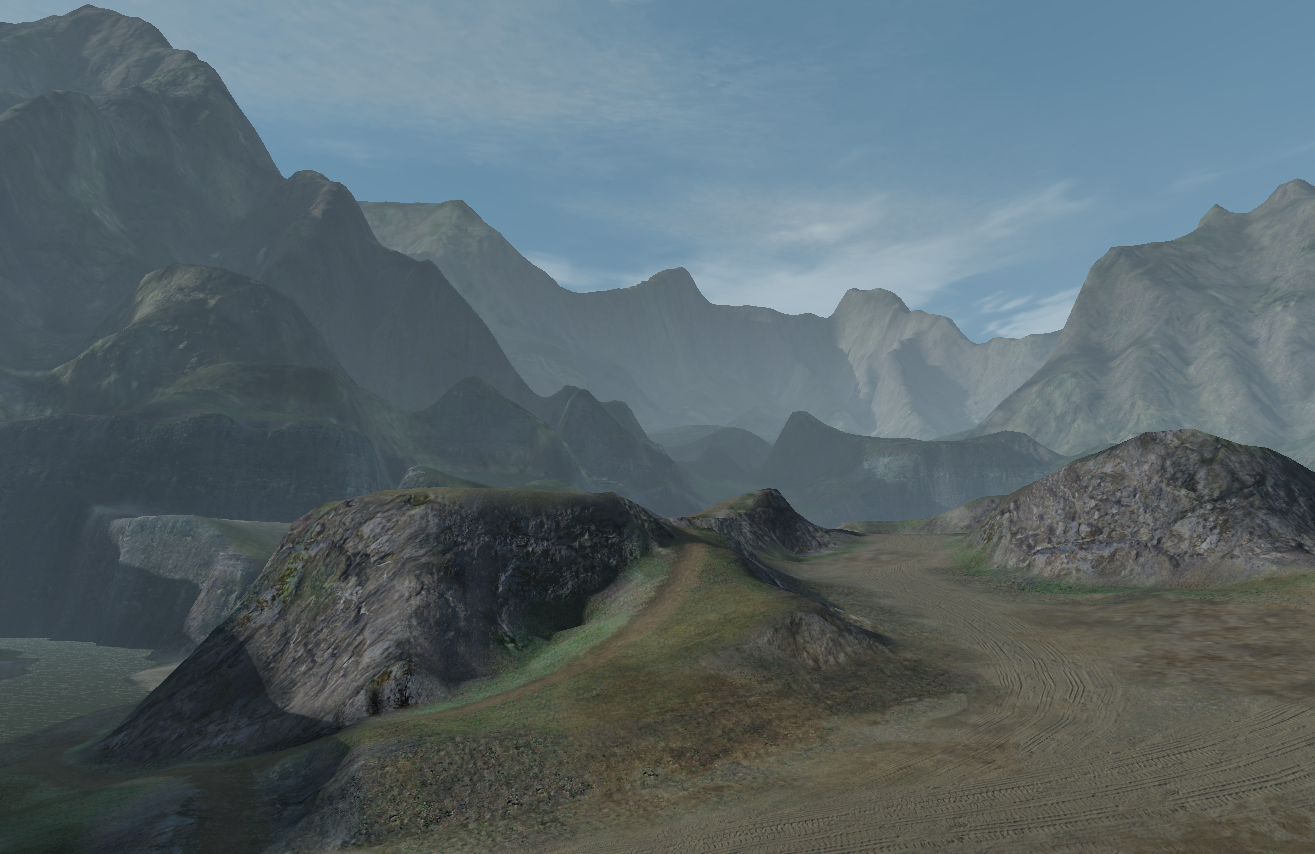
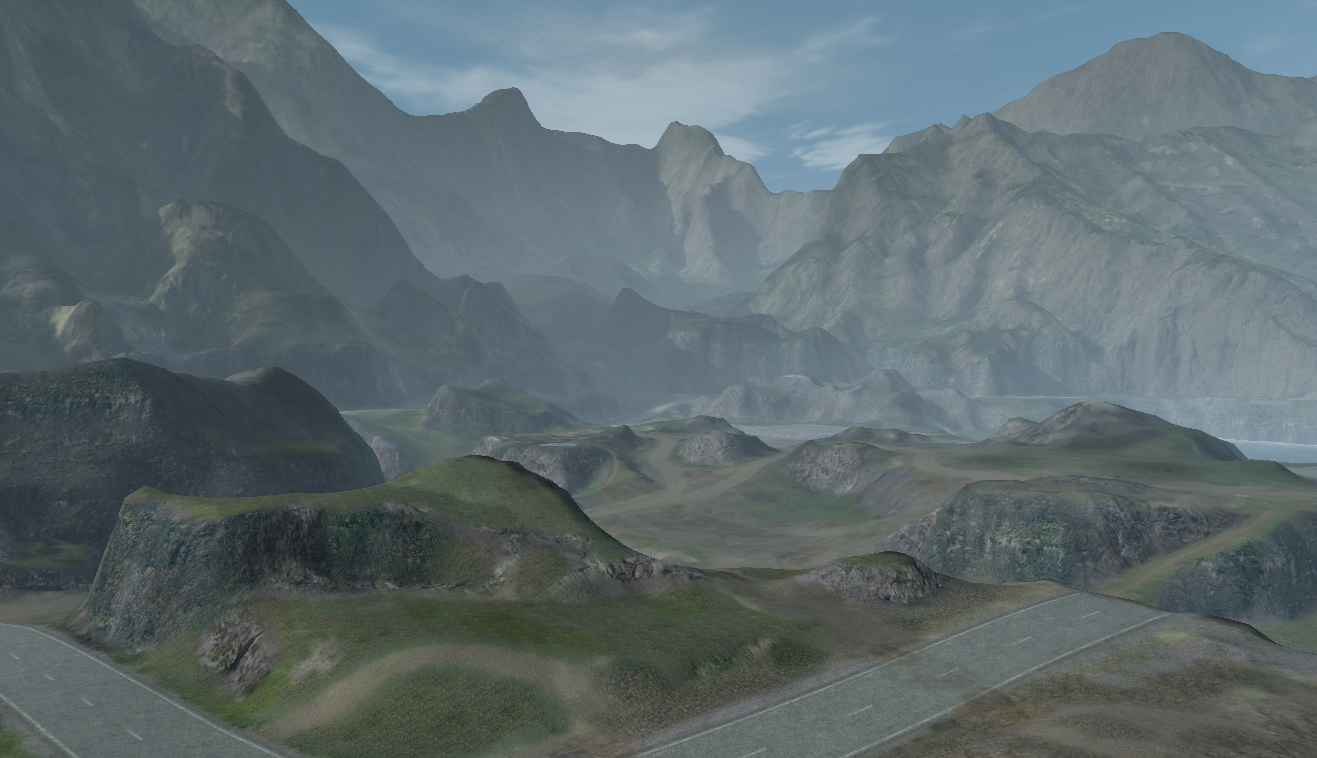
As you can see in the images below, with a little practice, it is possible to create realistic and interesting terrain. Creating a nice terrain setup is a good first step in the creation of a level, so its well worth taking the time to practice a little.
