Использование основных функций инструмента River
Материал из CryWiki Russia
Содержание |
Как использовать основные функции инструмента River
Обзор
Этот учебник покажет вам, как построить River в Sandbox2 редакторе. После того как вы узнали, как изменить размеры River мы не будем вдаваться в подробности о назначении правильного материала, так как это выглядит реалистично.
Кроме того, если вы хотите, посмотрите на [Particle1 учебник по частицам], чтобы узнать, как добавить эффекты частиц для определения вашего уровня, с частицами вы можете улучшить ваш River, путем размещения foam particle entities, чтобы эффект от текущей воды был еще более реалистичнее.
Подготовка местности на River
Размещение лица River
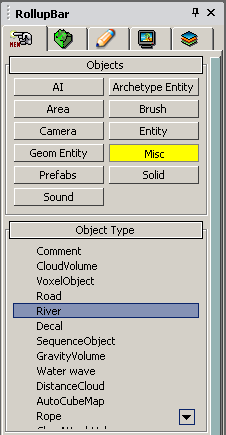
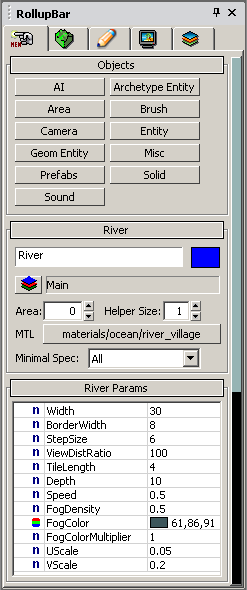
Введите в разделе объектовRollupBar click Misc and then River*. Теперь вы можете нарисовать River в окне перспективы.
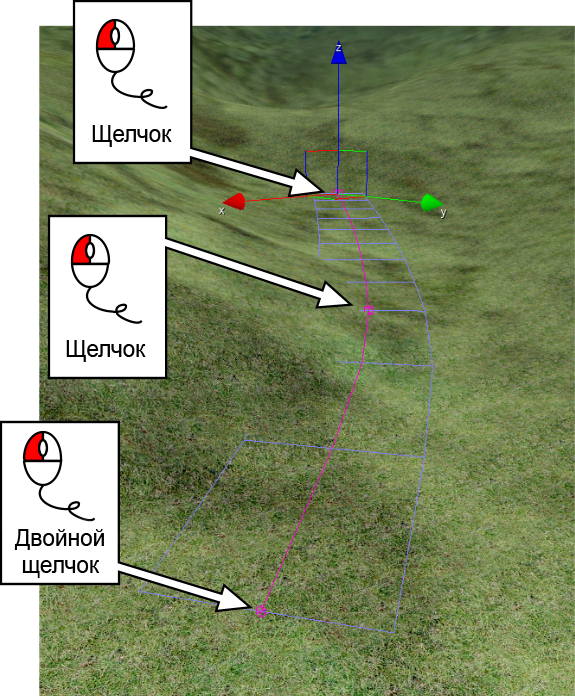
Сначала щелкните на местности, будем создавать первую точку.
Второй щелчок создание средней точки River.
Двойной щелчок в третий раз будет полный River.
Do not worry about parts of the river disappearing in the terrain, we will adjust that later.
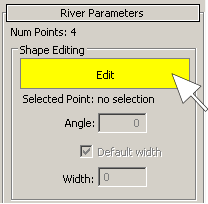
Later you can adjust the shape, add more points/remove points by clicking the Edit button in the Shape Editing section.
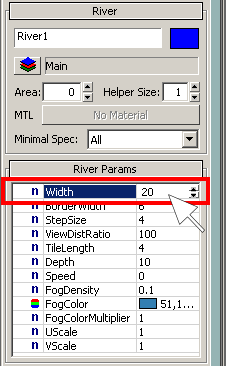
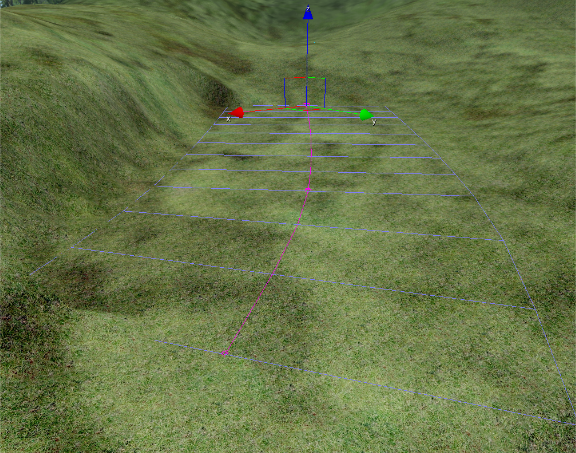
To build the river bed set the width of the river to 20 and press the Align Height Map button.
This adjusts the height of the terrain to the river shape and height – a very handy tool to shape terrain for other purposes, too, and can also be done with the Road tool.
Forming the bed of the river
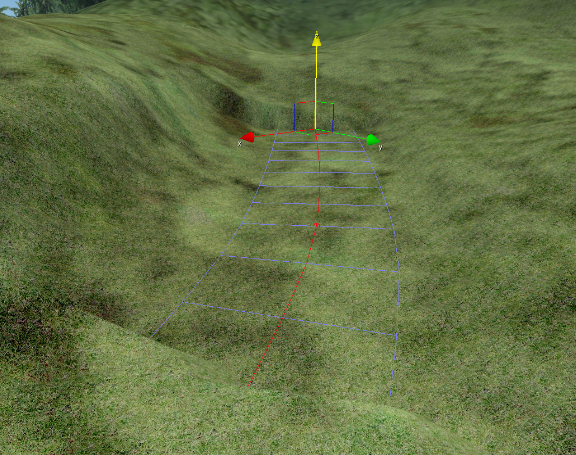
Now set the width of the river to 10. With the river shape selected move the entire shape a little bit down by clicking on the yellow Y axis helper object line, holding the left mouse button and moving the mouse towards you.
Next, press again the Align Height Map button again.
The river will always be a flat plane that, by default, hovers in the air. Rotate it to make it flow downhill.
Also, to make the river look like it is flowing along the terrain, it’s a nice idea to adjust the terrain beside the river. See the [Modify terrain editing tutorial] on how to do this.
To make a 10 meter wide river blend with the terrain, simply set its width to 20 or 40 this will make the river wide enough so no gaps with the surrounding terrain will be visible.
Making the river look nice
Assigning a material
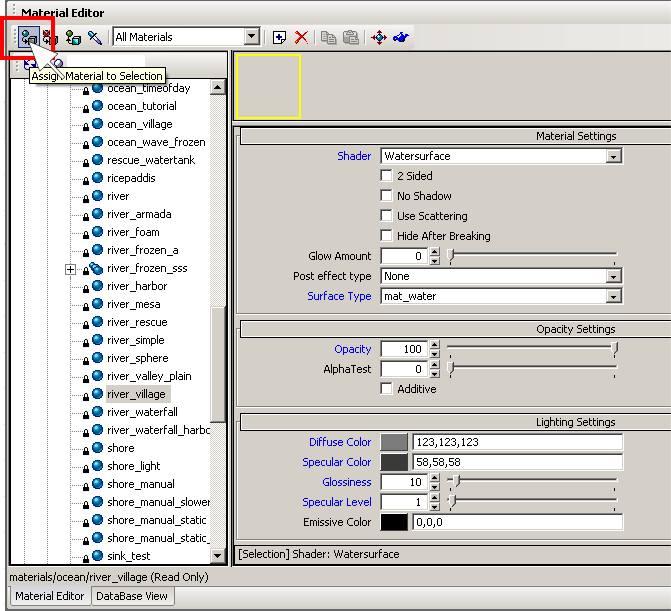
Assign a material to the river (for example Materials/Ocean/river_village) using the material editor
Select the material and assign it with the top left button in the material editor.
Other river parameters
In the river parameters you can adjust how the material tiles. Also, you may notice the speed parameter of the river can be adjusted here. This is only the speed at which physicalized objects will float down the river, and doesn’t affect the look of the river itself.
Example river perameters
Below is a nice example setup of parameters you can use. You can just copy them into the River Params box.
Width = 30
BorderWidth = 8
StepSize = 6
ViewDistRatio = 100
TileLength = 4
Depth = 10
Speed = 0.5
FogDensity = 0.5
FogColor = 61,86,91
FogColorMultiplier = 0.1
UScale = 0.05
VScale = 0.2
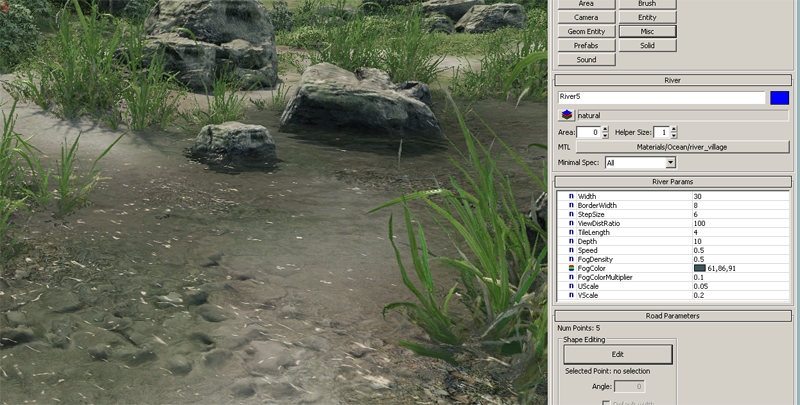
Result
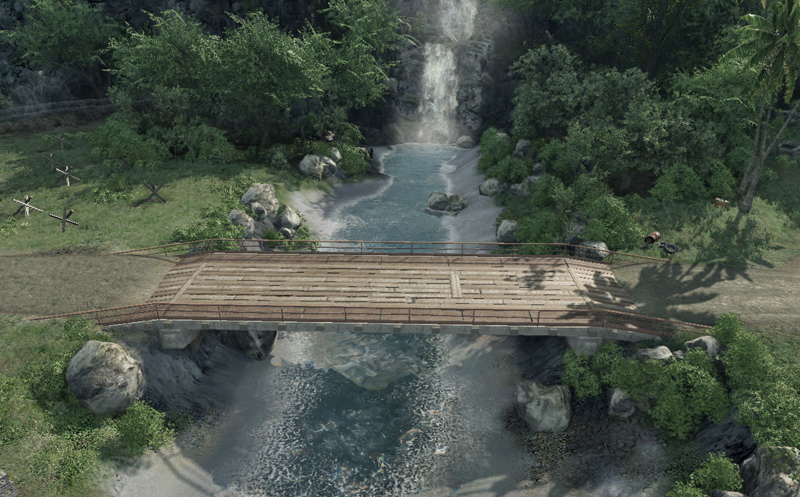
Once you have everything setup the river should flow gently. To enhance the look of the river obviously the ground material needs to be painted with an appropriate texture and vegetation added.
Some things to experiment with:
To make the river flow down from a mountain to the ocean, the river shape needs to be rotated (only use small Z values like 0.5 or 1).
