Работа со сборными объектами
Материал из CryWiki Russia
Содержание |
Working With Prefabs
Overview
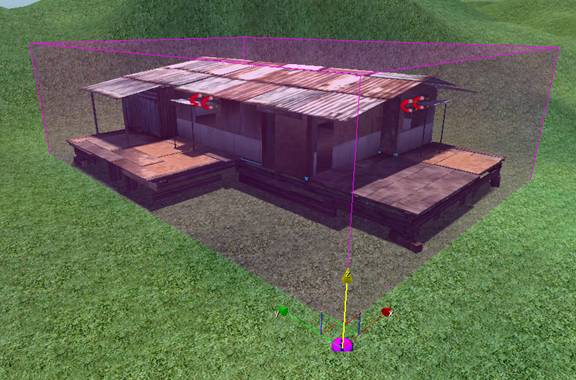
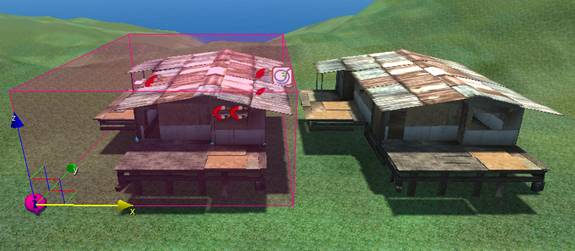
Prefabs are groups of objects which can be placed in your level as instances. An instance is an object which is an exact copy of every other object of the same type. When you edit one instance of an object, every other instance that exists in your game will change, either instantly or when the instance is reloaded.
Index
What are prefabs?
A prefab is a predefined group of objects. Every time you place down a prefab, each instance is precisely the same in every way. Altering a prefab will make it change everywhere it has been placed. Any alterations need to be saved to the prefab library to ensure they are correctly propagated across your entire game.
The Prefabs Library
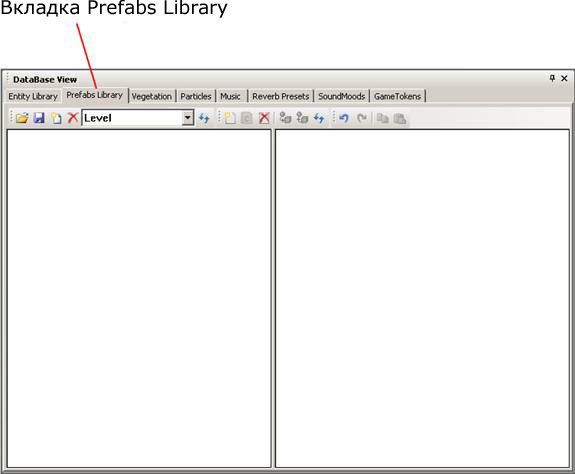
Open up the Database View by going to the main menu View > Open View Pane > Database View
Now, enter the Prefabs Library by left clicking its tab at the top of the window.
Creating a new Library
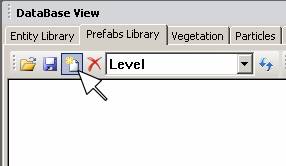
To create a new library, click the Add Library button…
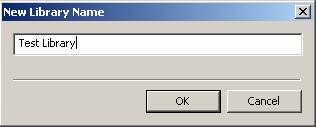
…and type in a new library name.
Make sure you click the Save Library, once you’re done.
Loading a prefab library
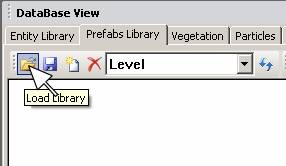
Next, lets load up an existing prefab library. Go to the Load Library button.
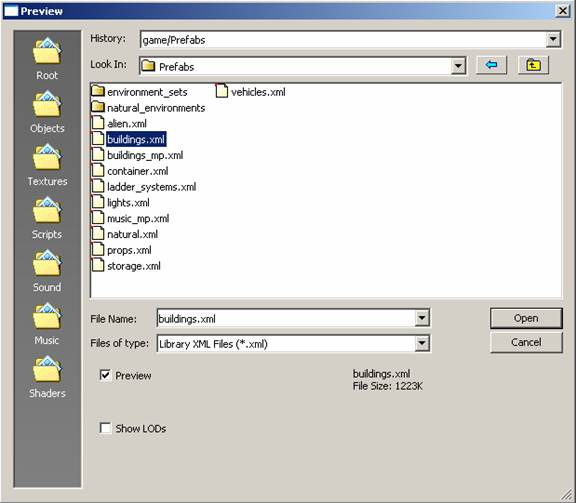
Now, select a library, and press the open button. For the purposes of this tutorial, load buildings.xml
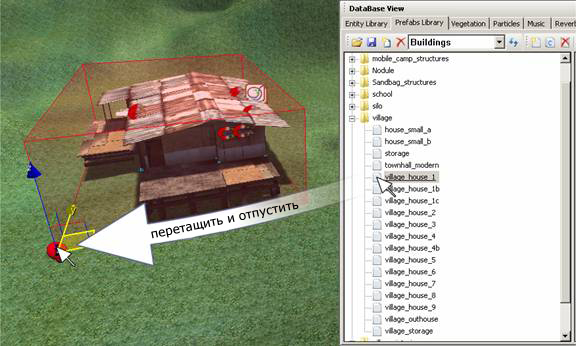
Now, you can go into the prefabs library and find Village_House_1. Left click, drag and drop the prefab into your level.
Creating a new prefab
Firstly, place the objects in your level that you wish to change into a prefab. Select all the objects you require
Next, go up to the Prefabs menu, and select Make From Selection
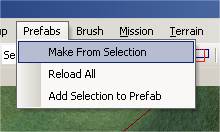
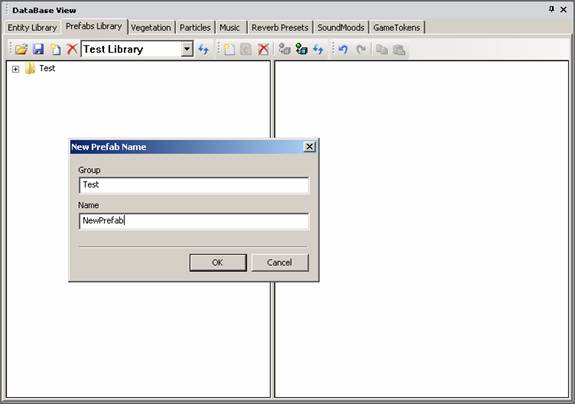
Now, fill in a Group and Name for your new prefab. The prefab will be created in your currently selected library.
Now your prefab has been created and is ready to use in your level.
Prefab Object Properties
Prefab Params
Merge Static Geometry Not used.
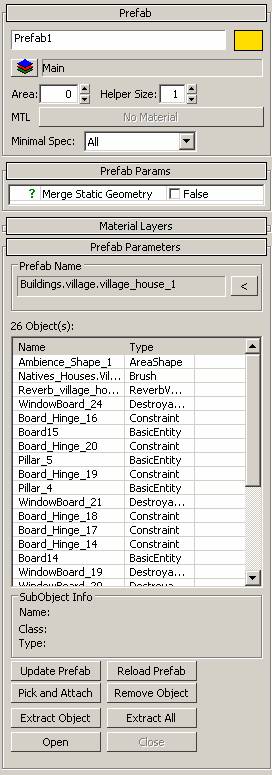
Prefab Parameters
Prefab name
The name of the prefab, taken from the prefab library.
Object list
A list of all objects within the prefab, alongside their object type.
Subobject info
For the current object selected within the prefab:
Name: The name of the subobject
Class: The main of the subobject (The main class type - for example, entity, brush, ambient volume, light)
Type: The type of the subobject (The sub type - for example, destroyable object, constraint, AI grunt)
Update Prefab
Updates the selected prefab manually with any current edits.
Reload Prefab
Reloads the current prefab from the last saved version in the prefab library.
Pick and Attach
Allows you to add an new object to the selected prefab, by clicking on it
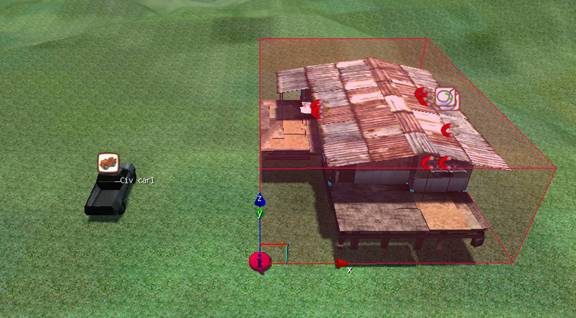
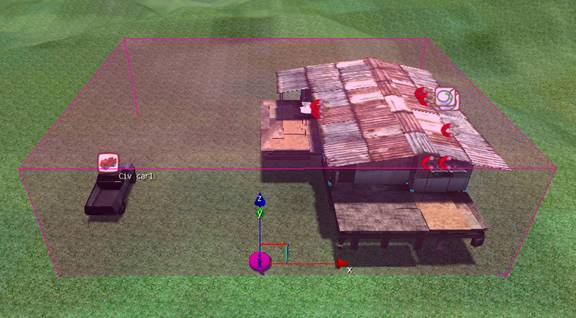
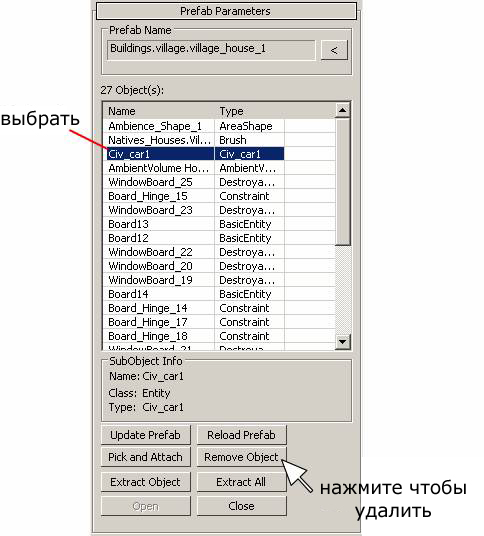
Remove Object
Allows you to remove an object from the selected prefab. Select the object from the Objects List, then click the Remove Object button
Extract Object
Extracts a clone of a single object from the prefab without altering or removing anything from the prefab object itself.
Extract All
Extracts all objects from the prefab without altering the prefab library
Open
Opens the prefab group, allowing you to edit and manipulate objects within it.
Close
Closes the prefab, so internal objects cannot be individually edited
