Размещение декалей в редакторе
Материал из CryWiki Russia
DCamer (Обсуждение | вклад) (Новая страница: «== Размещение декалей в редакторе == Image:Decals_image001.jpg === Описание === Следующее руководство о...») |
DCamer (Обсуждение | вклад) |
||
| Строка 8: | Строка 8: | ||
[[Image:Decals_image003.jpg]] | [[Image:Decals_image003.jpg]] | ||
| - | === | + | ===Добавление декали на уровень=== |
| - | ==== | + | ====Выбор декали ==== |
| - | + | Чтобы добавить декаль в игре, для начала активируйте '''Follow Terrain''', затем перейдите в библиотеку '''Misc''', размещённую в '''RollupBar''' и выберите '''Decal'''. | |
| - | + | ||
[[Image:Decals_image005.png]] | [[Image:Decals_image005.png]] | ||
| Строка 17: | Строка 16: | ||
[[Image:Decals_image007.png]] | [[Image:Decals_image007.png]] | ||
| - | ==== | + | ====Добавление декали на уровень==== |
| + | Выберите декаль, кликнув по ней левой кнопкой мыши, и затем переместите мышь в окне перспективы. Инструмент «Follow terrain», который был ранее активирован, привяжет новый объект к ландшафту, при его перемещении. | ||
| - | + | Нажмите кнопку мыши, чтобы поместите декаль в его нынешнее положение. Потом вы сможете перемещать/вращать/масштабировать декаль, используя команды '''Editing Mode''', расположенные в меню '''Edit''' или на панели инструментов'''EditingMode'''. | |
| - | + | ||
| - | + | ||
[[Image:Decals_image009.png]] | [[Image:Decals_image009.png]] | ||
| - | ==== | + | ====Настройка материала декали==== |
| - | + | В параметрах материала декали должен быть отмечен флаг '''Decal''' в '''Shader Generation Parameters''', как показано ниже.<br> | |
| - | + | ||
[[Image:Decals_image011.png]] | [[Image:Decals_image011.png]] | ||
| - | + | Для начала откройте папку '''Materials''', а затем перейдите в папку '''Decals''' в '''Material Editor'''. Все декали в этой папке правильно настроены для использования в качестве декалей. | |
[[Image:Decals_image013.png]] | [[Image:Decals_image013.png]] | ||
Версия 19:02, 10 апреля 2011
Содержание |
Размещение декалей в редакторе
Описание
Следующее руководство опишет процесс настройки и размещения декалей в редакторе, вы узнаете как назначить материал и различные типы проекции декалей.
Добавление декали на уровень
Выбор декали
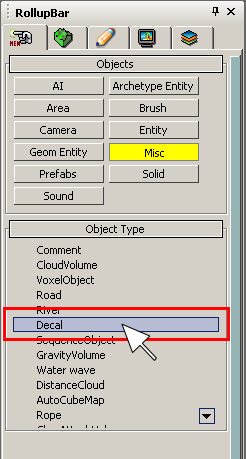
Чтобы добавить декаль в игре, для начала активируйте Follow Terrain, затем перейдите в библиотеку Misc, размещённую в RollupBar и выберите Decal.
Добавление декали на уровень
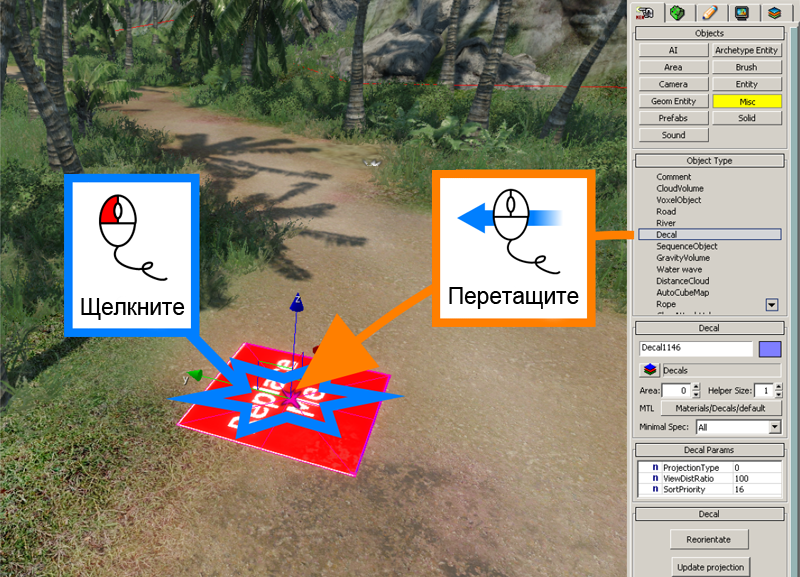
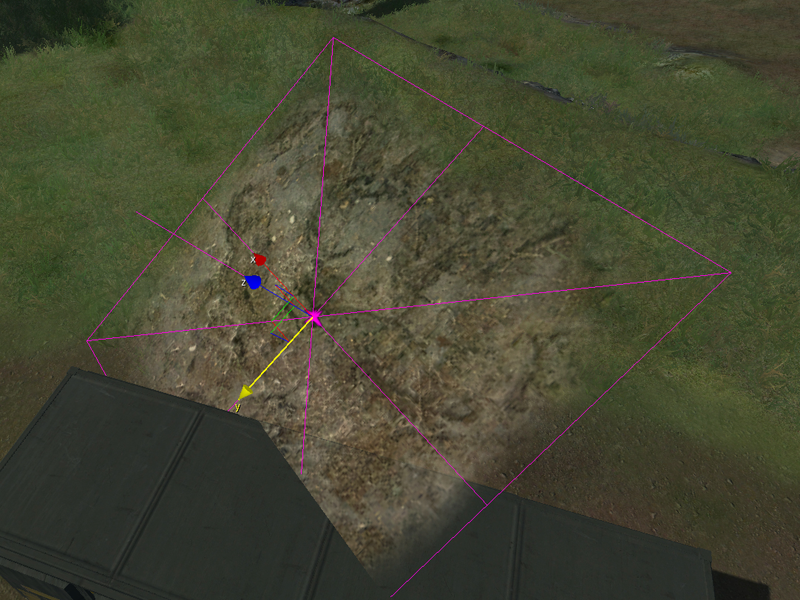
Выберите декаль, кликнув по ней левой кнопкой мыши, и затем переместите мышь в окне перспективы. Инструмент «Follow terrain», который был ранее активирован, привяжет новый объект к ландшафту, при его перемещении.
Нажмите кнопку мыши, чтобы поместите декаль в его нынешнее положение. Потом вы сможете перемещать/вращать/масштабировать декаль, используя команды Editing Mode, расположенные в меню Edit или на панели инструментовEditingMode.
Настройка материала декали
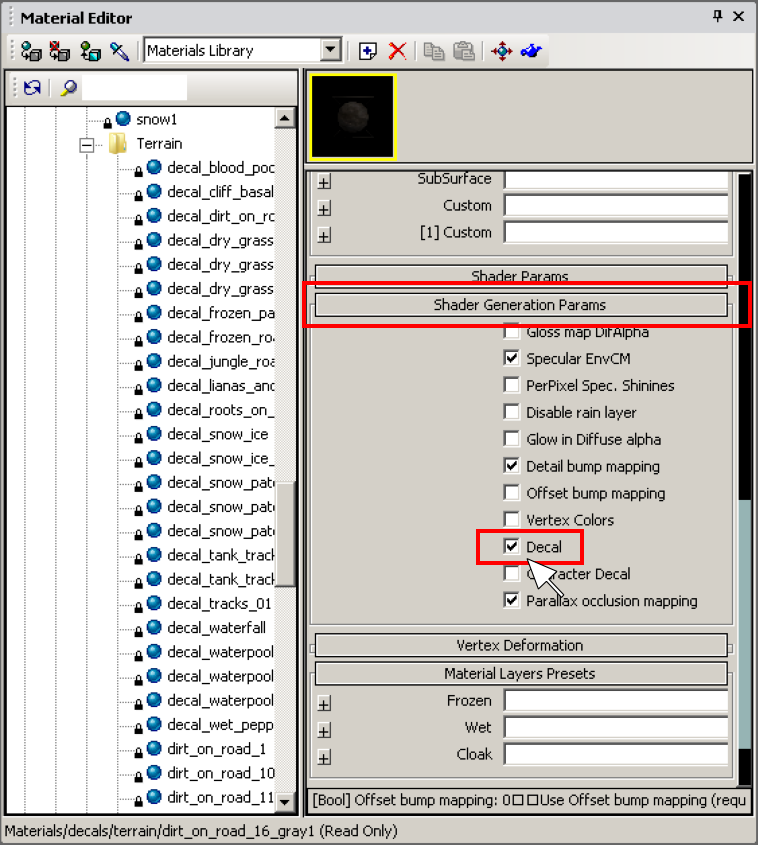
В параметрах материала декали должен быть отмечен флаг Decal в Shader Generation Parameters, как показано ниже.
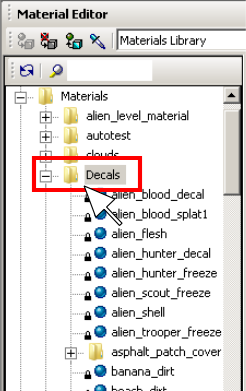
Для начала откройте папку Materials, а затем перейдите в папку Decals в Material Editor. Все декали в этой папке правильно настроены для использования в качестве декалей.
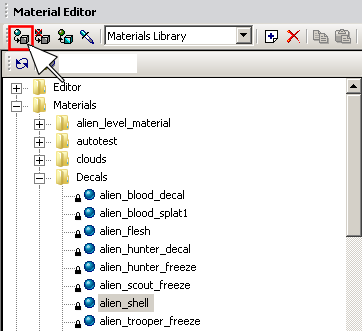
Once you have selected a material click the Assign Material to Selection button.
Decal Projection types
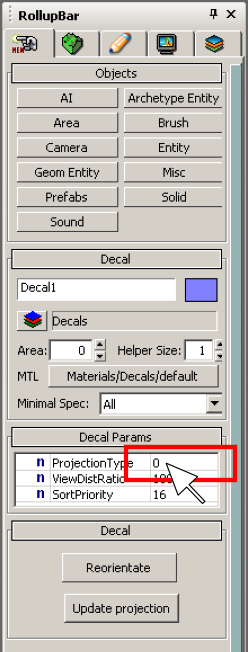
Decals have 4 different projection types, numbered 0 to 3. To change this, select the decal and change the value in the Projection type line, shown below.
Projection Type 0
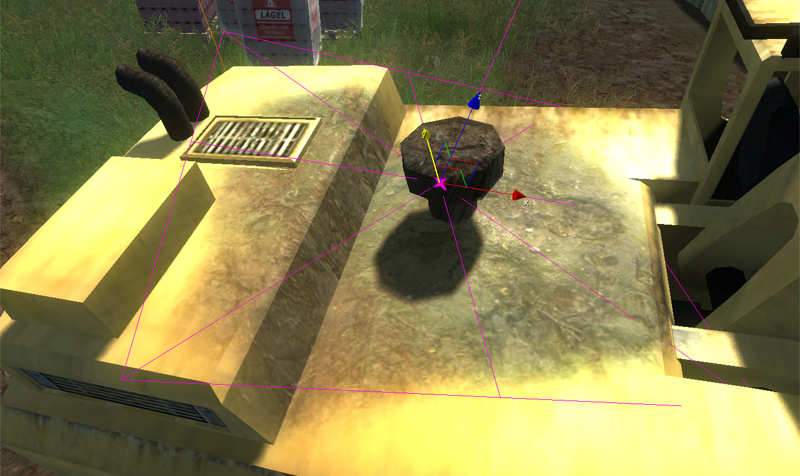
The decal will be displayed in the exact same position in space as where you placed the center of the object.
Projection Type 1
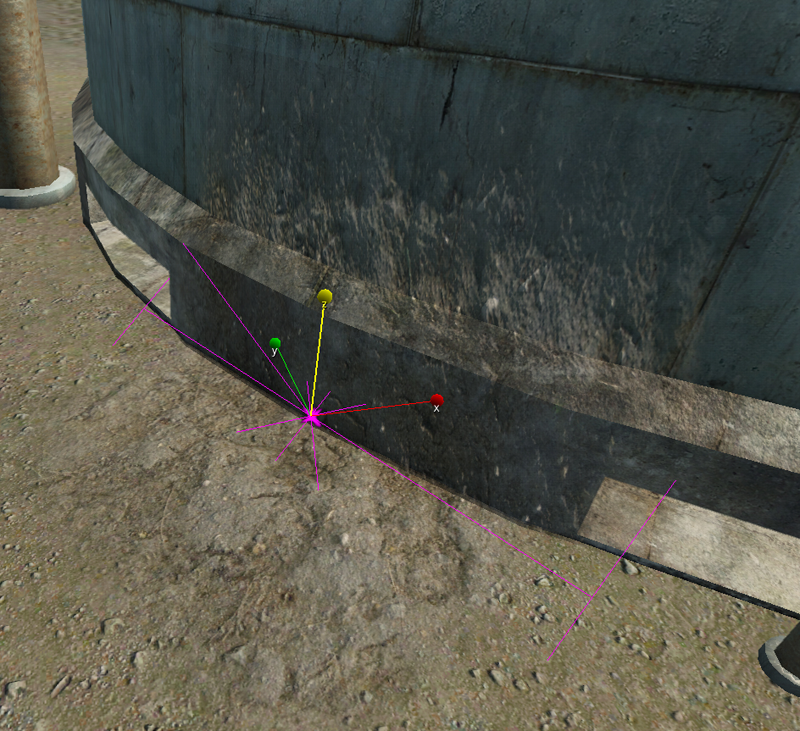
The decal will be projected onto the geometry of an object in the level. It will be projected along the opposite direction to the blue Z axis.
Projection Type 2
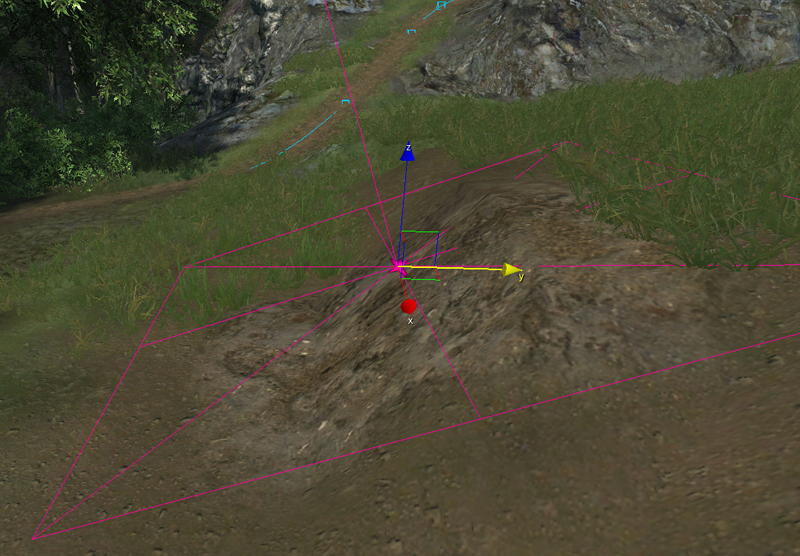
The decal will be projected directly on to the terrain of your level.
Projection Type 3
This projection type is a combination of type 2 and 3, and will be displayed on both the terrain and objects.
Manual placement of decals on objects or the terrain
Select the decal entity, activate Reorientate and use Mouse shortcuts to place the decal: |Hold down CTRL and click the mouse button| move the decal to the desired position| |Hold down ALT and click the mouse button| scale the decal along the local x/y-axis| |Hold down CTRL+ALT and click the mouse button| rotate the decal around the local z-axis|
This will speed up placement enormously.
Result
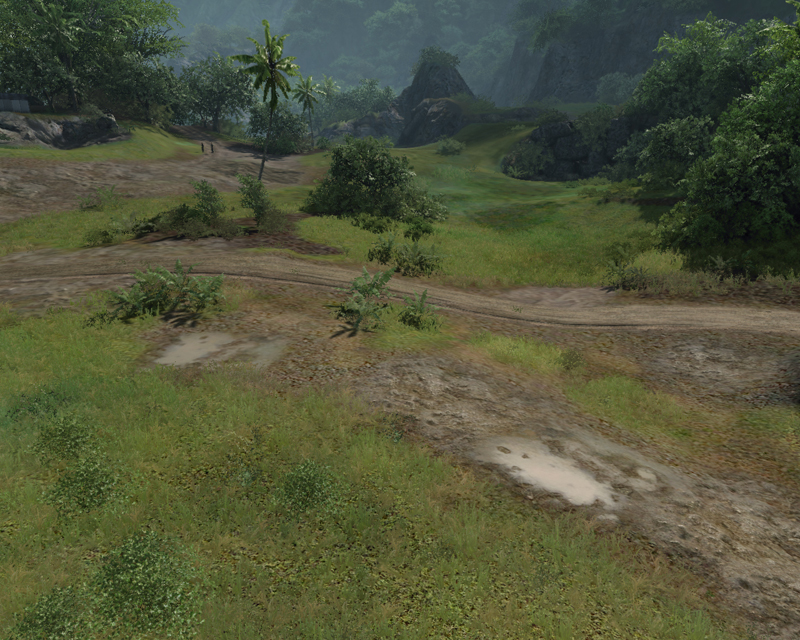
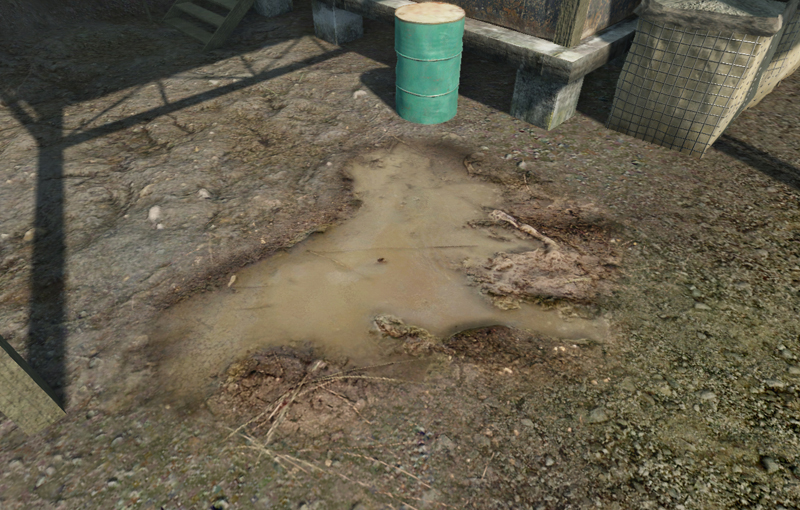
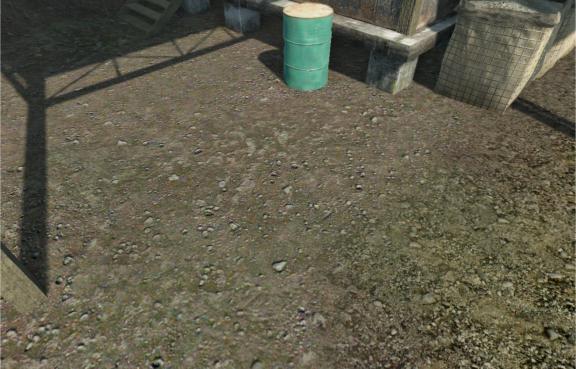
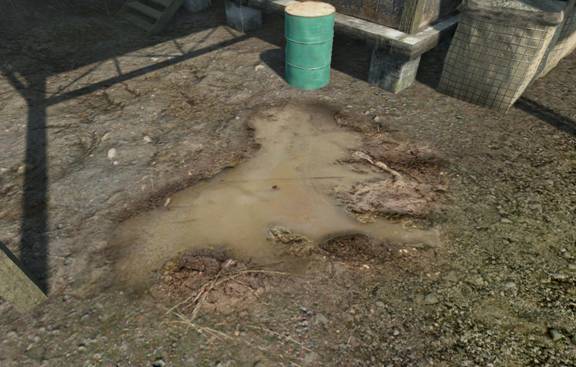
Good placement of decals can bring your level to life. They can also be used to create seamless transitions between many different objects.
