Создание простой структуры из солидов
Материал из CryWiki Russia
Содержание |
How to Create Simple Structures with Solids
Overview
The following walkthrough gives you an overview how to use the solid tool in the Sandbox editor.
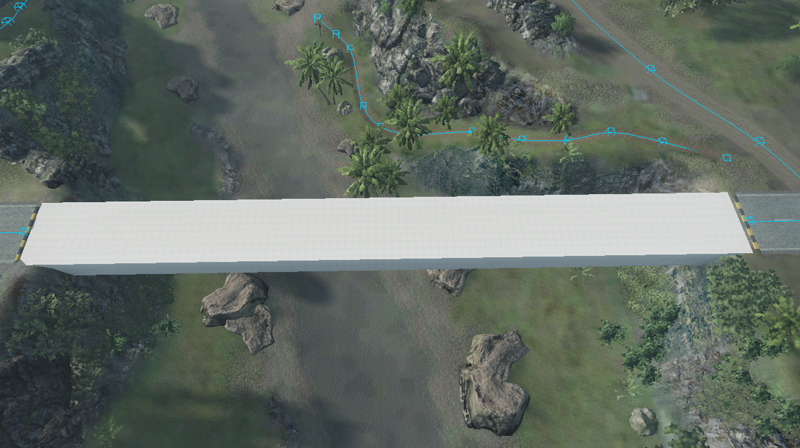
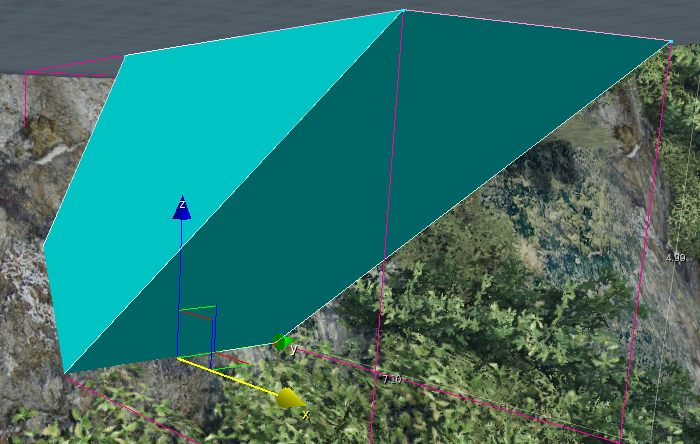
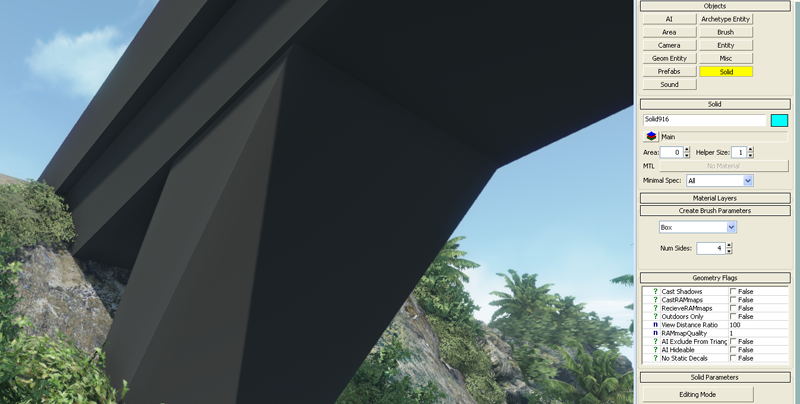
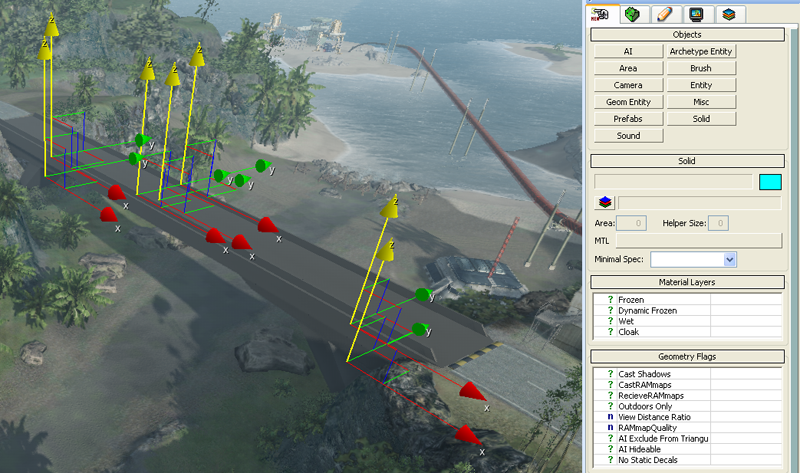
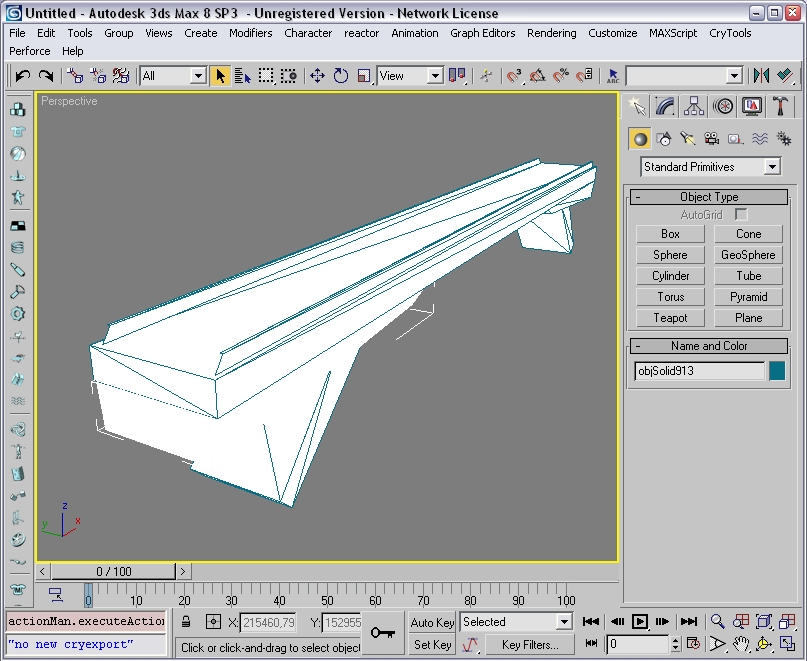
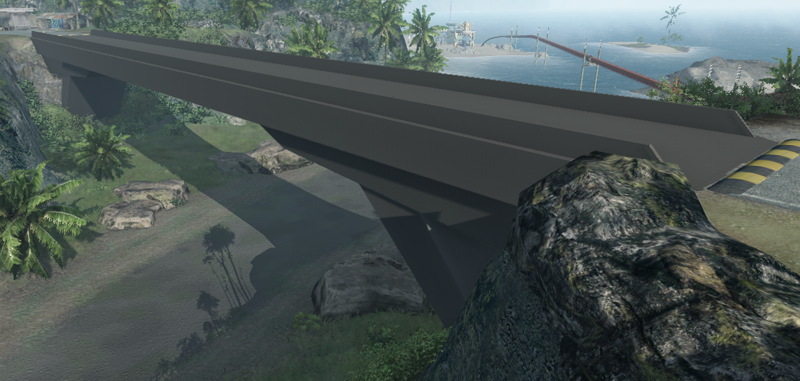
The solid tool is used to create simple structures and objects, or placeholders for future art assets. In this example we show a simple bridge. Solids can be exported in a 3D Studio MAX readable format, and can be used as a guide for creating the final asset.
Placing a solid in your Level
To create a solid, activate Follow Terrain, this will cause the points of the solid to follow the ground when you're creating it.
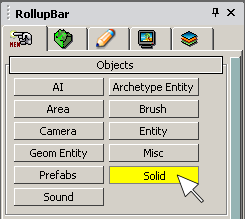
Next, go to the RollupBar and click the Solid button in the Object section.
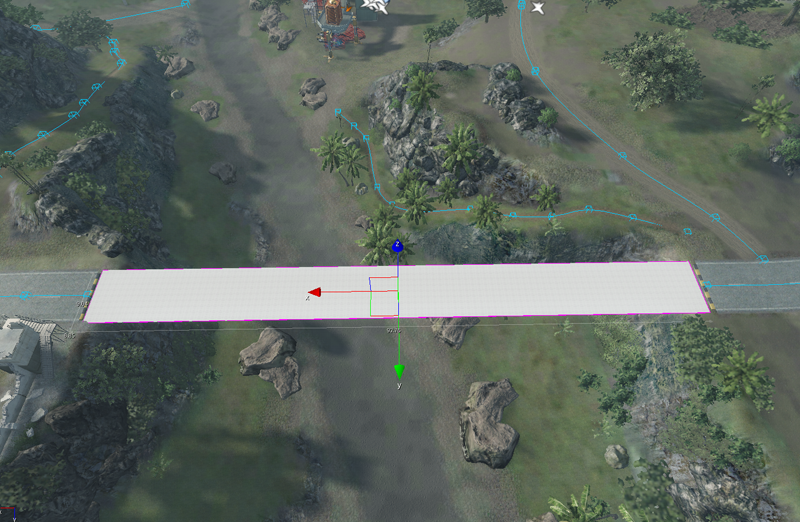
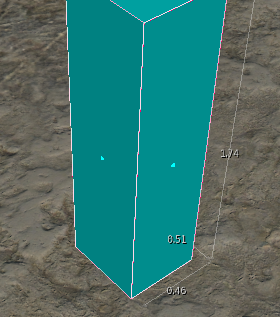
Click and hold the mouse button in the perspective viewport, then drag the mouse around. You will drag out a flat box.
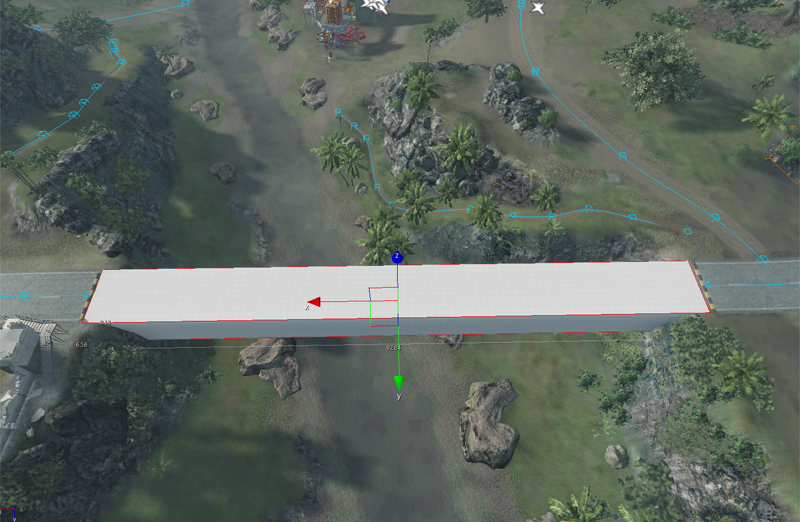
Releasing the mouse button will allow you to give the box height, along the Z axis.
A final click will exit solid creation mode.
Modifying a solid
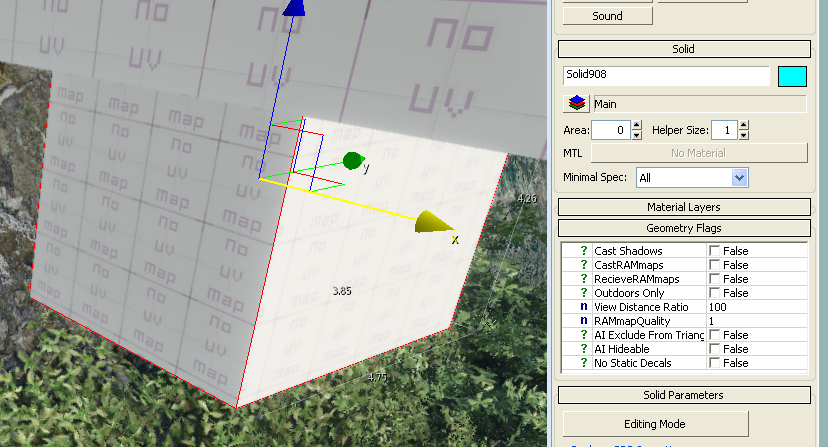
To enter the Editing Mode for a solid you have to first select a solid.
Select your solid and activate Editing Mode found within the Solid Parameters pane in the RollupBar.
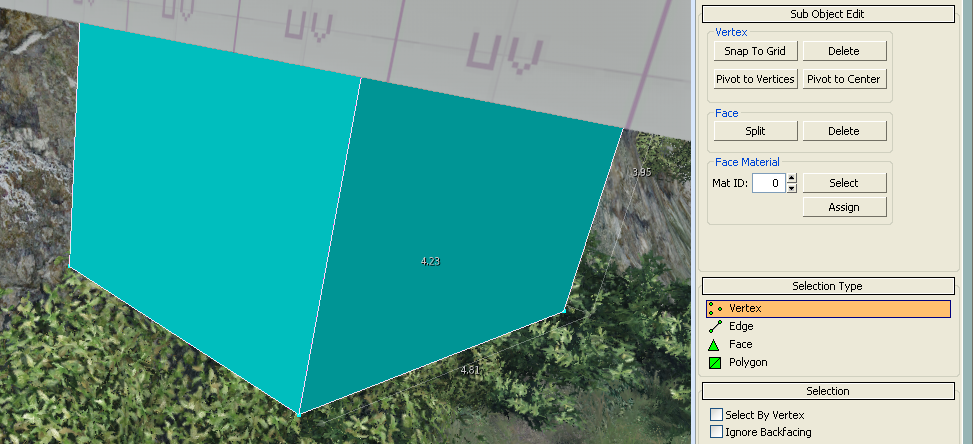
Your solid should change to a flat colored shape.
Editing vertices
There are several ways to change the shape of the solid.
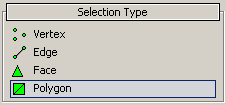
To change one or more points in the geometry use the Vertex tool.
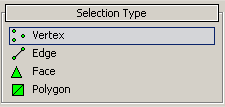
Click the Vertex tool in the Selection Type pane.
Click the point which you want to move. Holding the CTRL key enables the option to select several points.
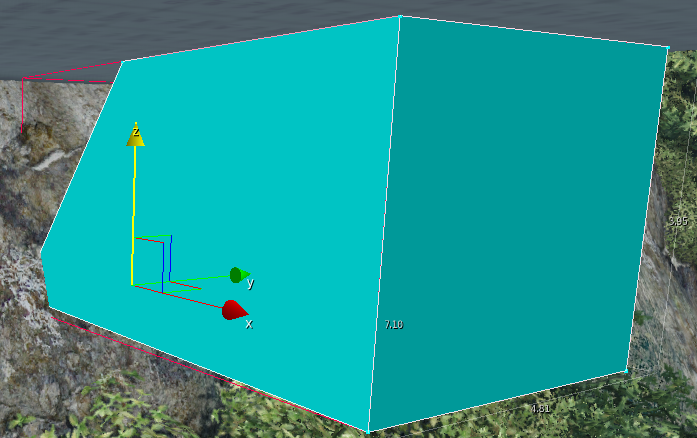
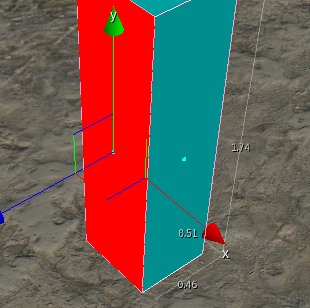
To change the position of the verticles, use the movement gizmo that appears once you select one.
Editing Polygons
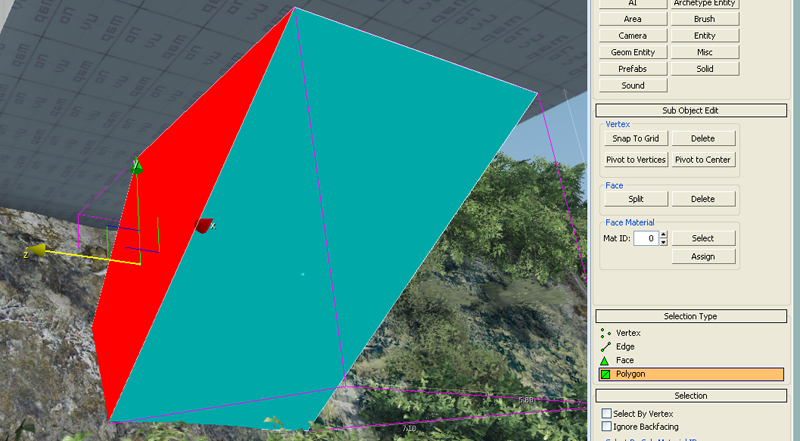
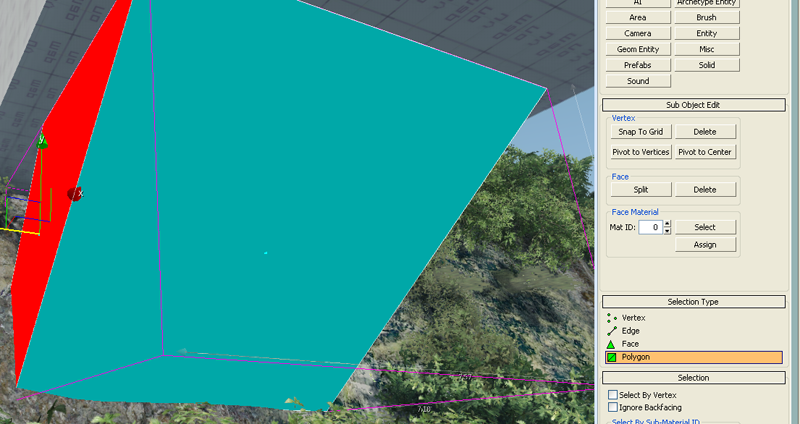
To change faces and polygons in the geometry use the Polygon tool.
Click the Polygon tool in the Selection Type pane.
Click the point in the center of the polygon which has to be modified.
To change the position of the polygon, select the movement gizmo in the perspective viewport to the new place.
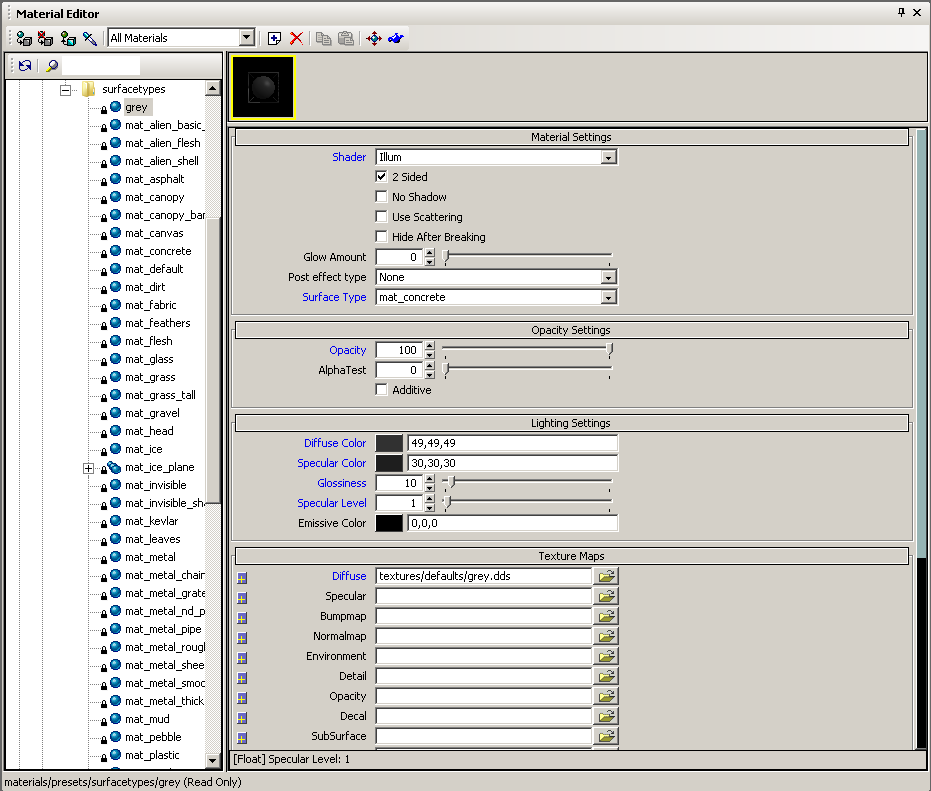
You can also assign a material to your solid. Assigning materials is covered elsewhere.
Export solids to a 3D Studio MAX readable file (OBJ)
To export solids follow these instructions:
Select the solid in the perspective viewport, to select a group of solids hold the CTRL key and select each solid you need.
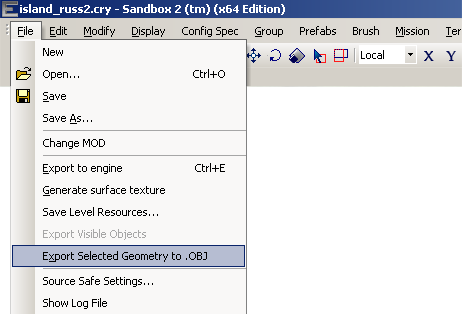
Open the File menu and click Export Selected Geometry to .OBJ.
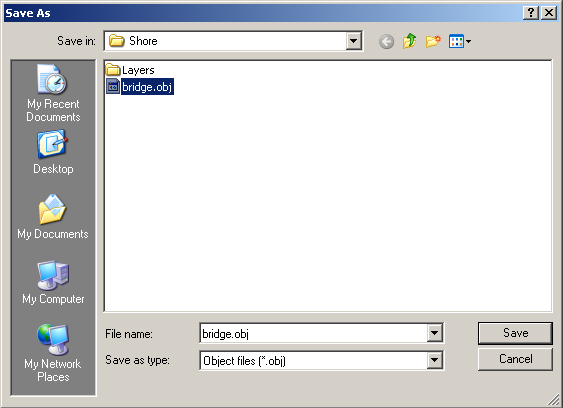
Save the file to a safe place on you PC.
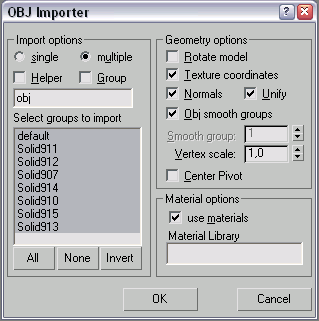
Load the File in 3D Studio MAX.
It is important to disable the Rotate model flag in the OBJ Importer from 3D Studio MAX.
Also, please refer to the tutorial relating to exporting objects from 3D Studio MAX, to help you get your completed object in-game.
Result
Solids are a great way to get your ideas into your level without worrying about creating actual detailed geometry. Efficiently using them to produce layouts and initial drafts will give you a good idea of how the final product may work, but in a fraction of the time.
